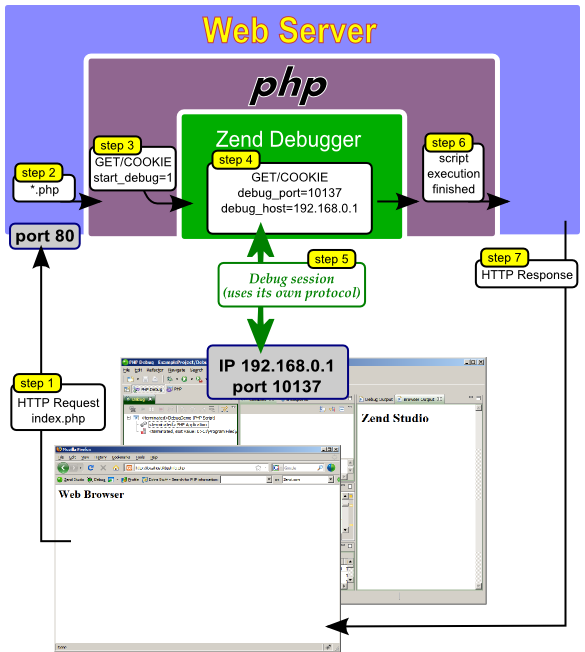
下载
wget http://www.xdebug.com/files/xdebug-2.2.5.tgz
tar zxf xdebug-2.2.5.tgz
cd xdebug-2.2.5
安装
# phpize如果没有安装
yum install php-devel
whereis phpize
# 通过phpize外挂模块
/usr/bin/phpize

# 开始编译
./configure --enable-xdebug --with-php-config=/usr/bin/php-config

make && make install

# 寻找xdebug.so
ll /usr/lib64/php/modules/ |grep xdebug.so
修改php.ini
# 先在phpinfo()中找到Loaded Configuration File

vi /etc/php.ini
# add

# 需要替换 xdebug.remote_host 为客户端IP

[Xdebug]
zend_extension =/usr/lib64/php/modules/xdebug.so
;开启自动跟踪
xdebug.auto_trace = on
;#开启异常跟踪
xdebug.remote_enable = 1
;客户端ip
xdebug.remote_host = 192.168.1.104
;调试端口
xdebug.remote_port = 9000
;开启远程调试自动启动
xdebug.remote_autostart = On
;收集变量
xdebug.collect_vars         = On
;收集返回值
xdebug.collect_return       = On
;用于zend studio远程调试的应用层通信协议
xdebug.remote_handler       =dbgp
;如果设得太小,函数中有递归调用自身次数太多时会报超过最大嵌套数错
xdebug.max_nesting_level = 10000
;日志保存地址
xdebug.remote_log = /var/log/xdedug.log
phpstorm配置
思路

添加调试服务器
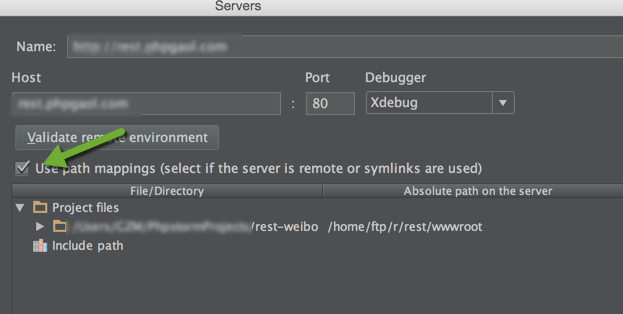
在 run->edit configurations->点击+号,然后输入服务器信息。

不要忘了配置mapping!
添加调试配置
安装调试插件
Firefox easy Xdebug
Chrome Xdebug helper
开始调试
接下来就设置一个断点,开始debug!

打开PHPSTORM的debug监听,监听来自9000端口的请求。